Connect the AnyAiCam appliance
Connect power and Ethernet to the same network that can reach the cameras. The appliance checks in securely to AnyAiCam.
The goal is a guided onboarding experience where the customer never needs to manually build AWS resources, edit VMS code or type camera configuration into a cloud server.
Connect power and Ethernet to the same network that can reach the cameras. The appliance checks in securely to AnyAiCam.
Use the customer account created from the paid order. The backend links the appliance to the correct customer, site and purchased entitlements.
The AnyAiCam appliance scans the authorized local network for supported cameras. Discovery occurs locally, not from the public website.
The customer supplies credentials they are authorized to use. Credentials stay in the secure appliance/VMS credential path and are not sent through the website checkout.
Select a discovered camera, give it a useful name and assign it to one of the camera slots purchased with the system.
AnyAiCam verifies camera connectivity, live view, recording and the licensed feature set before declaring the site ready.
By the time the appliance arrives, the system should already know what that customer is allowed to activate.
Identity, site name and order association.
The purchased number of camera slots so discovery cannot over-assign the system.
Analytics, cloud retention and other licensed modules attached to the correct slots/site.
The shipped device is associated with the paid order and activation record.
The backend has the customer/site namespace and service configuration needed for permitted cloud features.
Required checks that must pass before the customer sees “System Ready.”
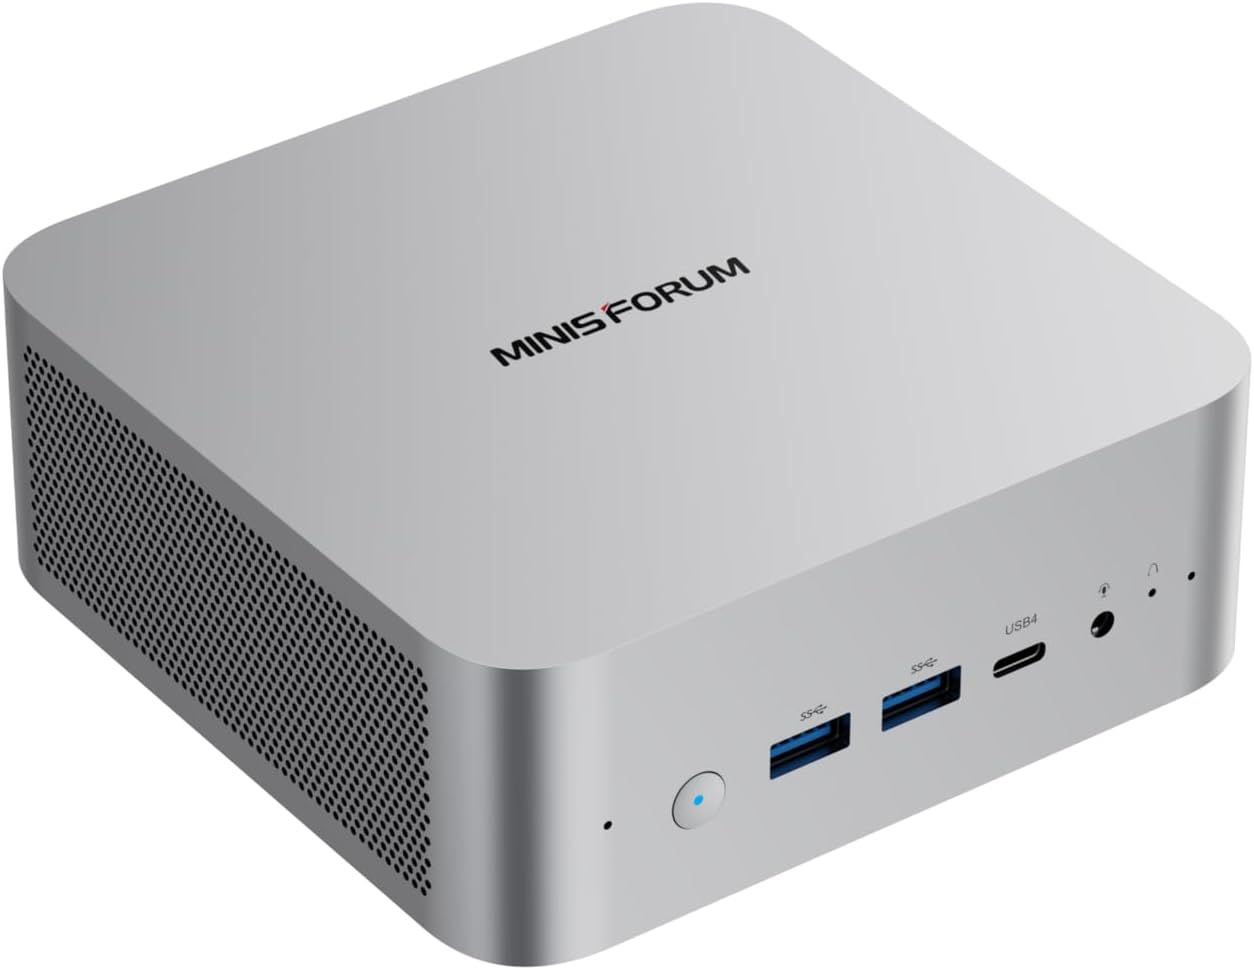
AnyAiCam Starter (MINISFORUM AI X1-255 · Ryzen 7 255) is the normal starting point. AnyAiCam Professional (MINISFORUM AI X1 · Ryzen AI 9 HX 470) is used when the validated workload needs more headroom.
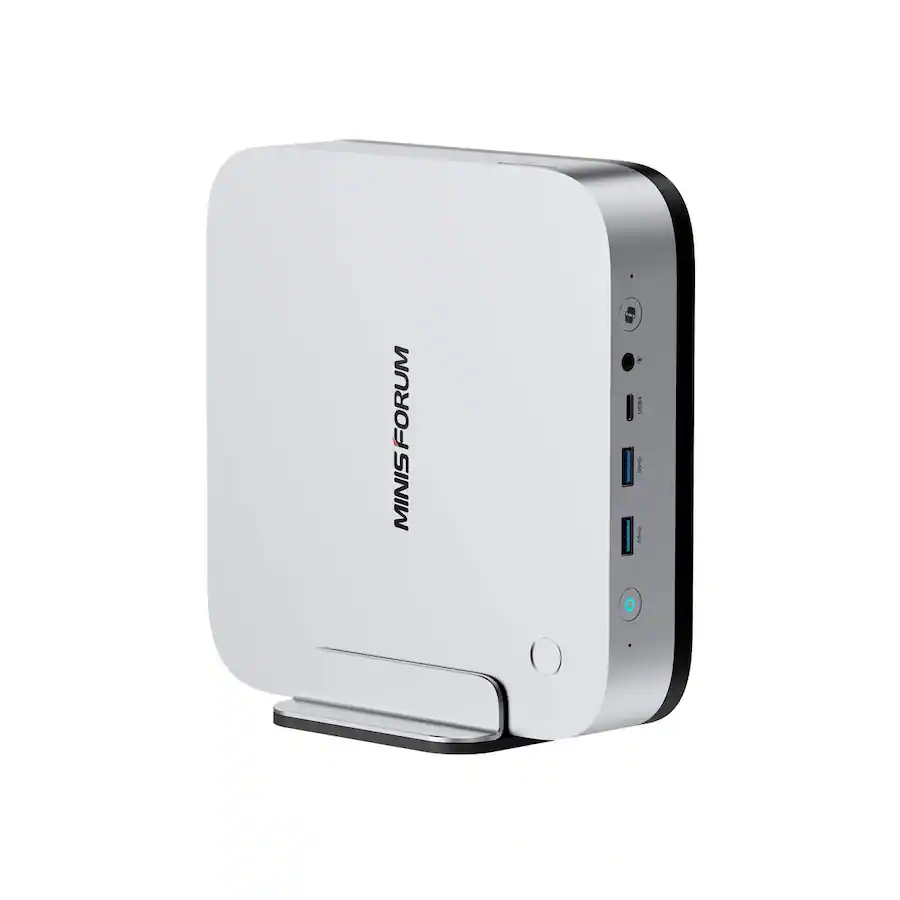
Use the AnyAiCam Enterprise appliance for commercial AAC Face Access; for homes, the AnyAiCam Residential VMS — Ryzen 5 covers front-door facial recognition for up to 5 household members. Access-control platform integrations are coming soon.
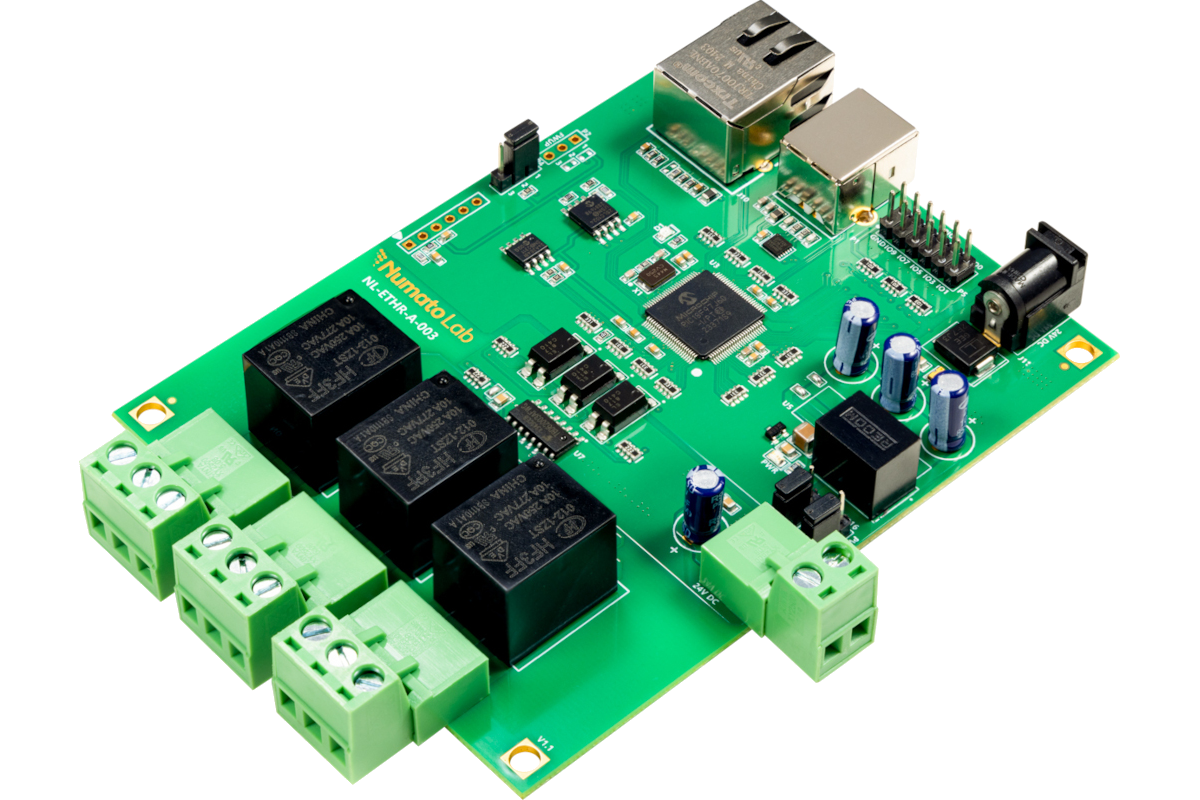
The Numato relay is the door-control hardware for AnyAiCam Face Access and can also trigger a door or gate on its own. VMS-only systems do not need it.
After the cameras are commissioned on an AnyAiCam Enterprise appliance, an administrator can link an entrance camera to a door and enroll authorized people (access-control platform integrations coming soon). Numato relay door control is commissioned with the camera-to-door link.
Connect the Numato relay to the door hardware. Access-control platform credentials (coming soon) will be entered in the protected admin setup, never at website checkout.
Map the entrance camera to the correct access-controlled door.
Create consented resident/employee face templates and access schedules.
Verify recognition, access rules and the door unlock response.
Door unlock actions are permission-controlled and logged for audit.
The customer should never create S3 buckets, IAM users or cloud credentials. Provisioning is server-to-server.
New customer #100 should activate through the same standardized flow as customer #1.
Camera credentials are entered only during the secure local/edge setup after the device is on the customer's network.
Choose the appliance, camera count, storage and analytics before contacting sales or entering a future production checkout.